Upload and update items
Upload multiple items at once with a CSV file. The upload page accepts CSV only.
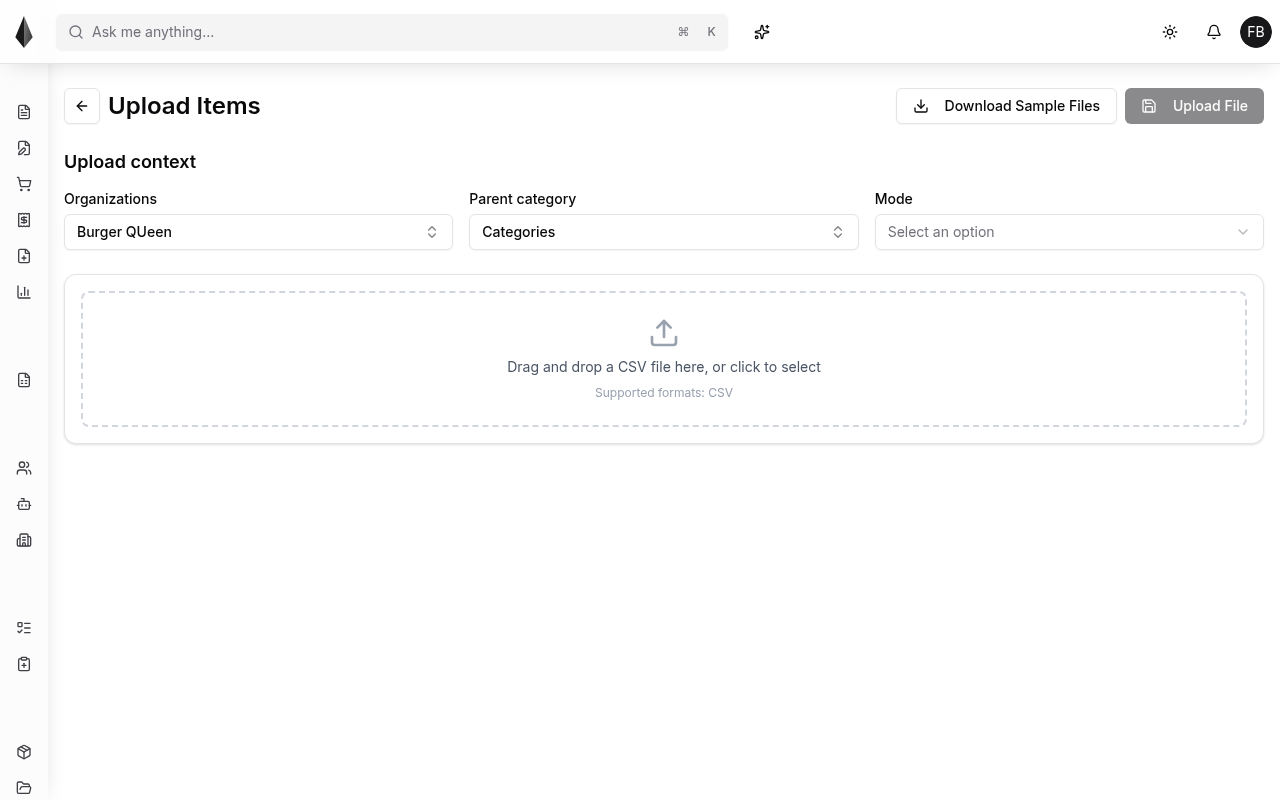
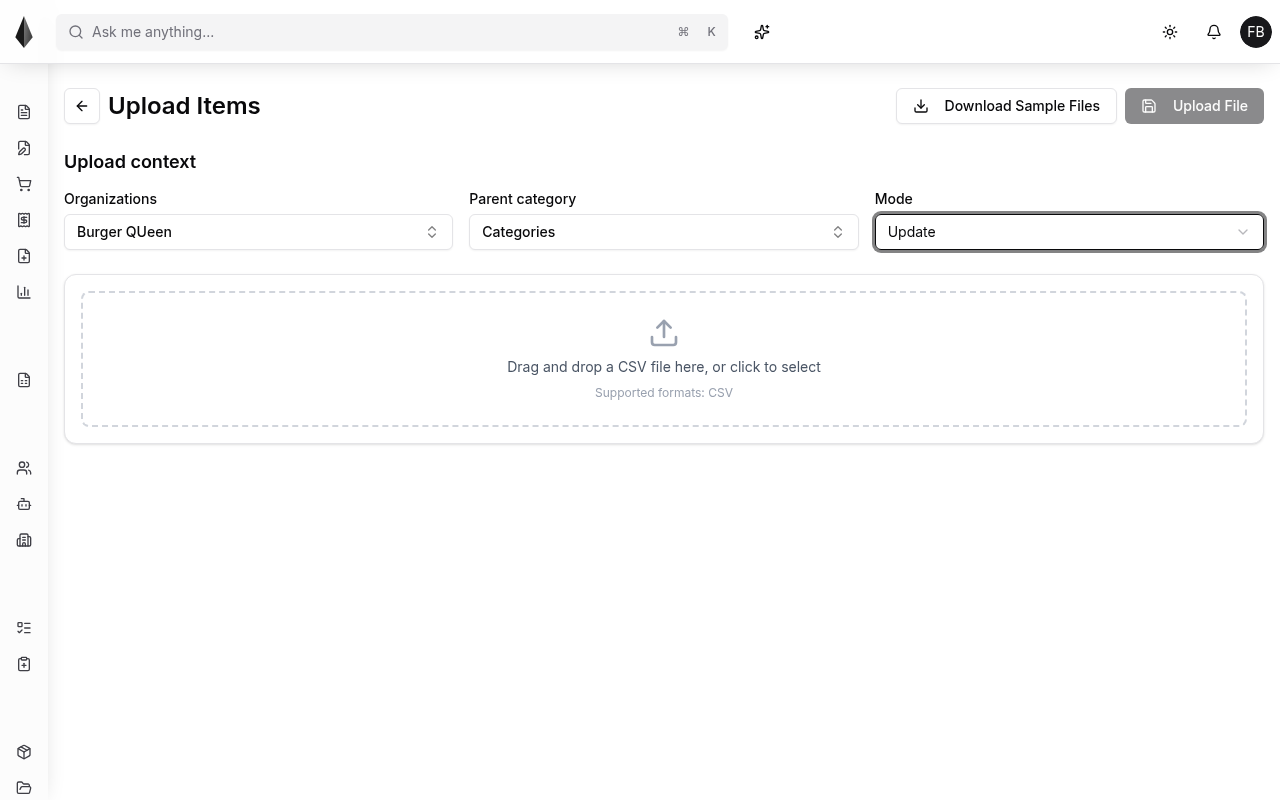
Upload context
Before uploading, set:
- Organization
- Parent category
- Mode (create vs update, as offered in the product)
Then drag and drop a CSV, or click to select a file. Supported format: CSV.
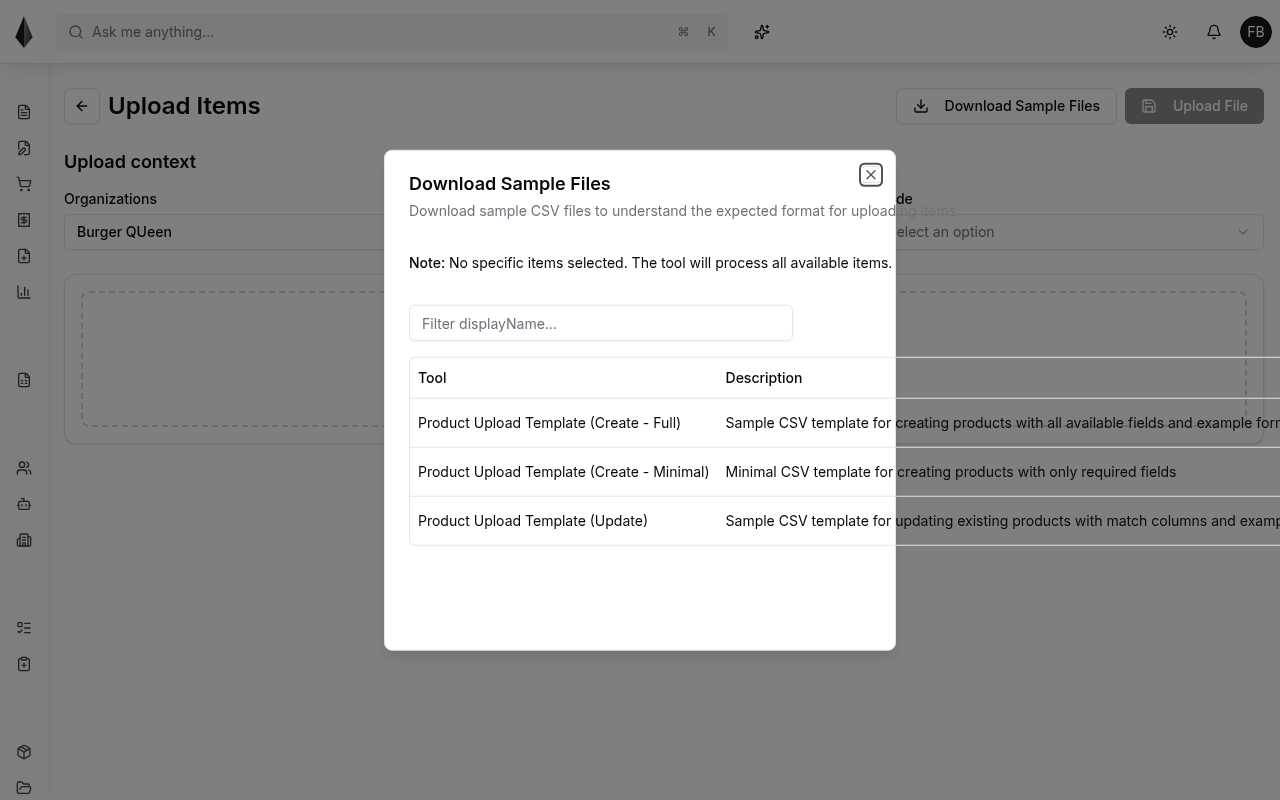
You can download sample files from the page (Download Sample Files). A starter template is also available here:
CSV basics
Edit CSVs in Excel, Google Sheets, or LibreOffice Calc, then save/export as CSV (not XLSX or ODS).
Category column
When uploading under a chosen parent category, put the child category name in the Category column (for example Bottoms or Tops). For deeper nesting, use > with spaces:
Bottoms > Shorts
You can introduce a new subcategory name in the CSV; Rune can create it under the selected parent. New categories created this way may start as not selectable—adjust that later in Categories if they should appear on orders.
Required and optional columns
Typical required columns include:
- name
- reference
- origin country
- package quantity
Optional columns often include description, prices (per currency, for example USD:10.99), weight, display, and active. Prefer the sample file and on-screen guidance for the exact headers your tenant expects.
Run the upload
After the file and context are set, confirm the upload. Valid items appear in the items list. If the file cannot be read or validation fails, Rune cancels the upload and shows an error.
Update existing items
To update items, use a CSV with a match: prefix on the column that identifies existing rows (commonly match:name or match:reference). Fill the columns you want to change, save as CSV, and upload with the update mode.